Scaling your business with the agent portal leads feature
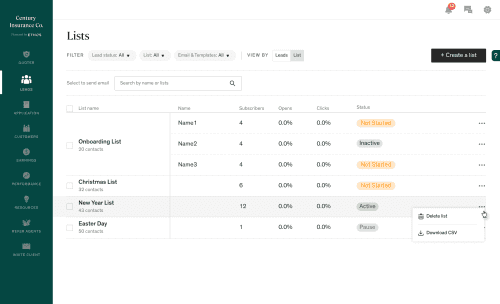
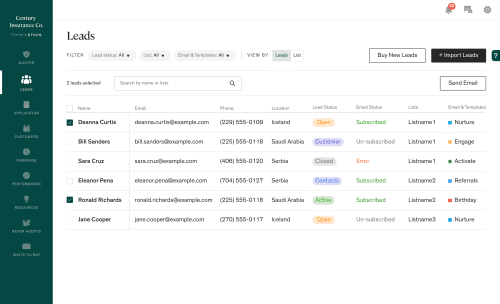
To get started, navigate to the Leads tab. Here you’ll be able to view all of your leads. You can filter by status, list, and email. To view a list of leads, click “List.” In the List view, you can name, download, and delete individual lists.
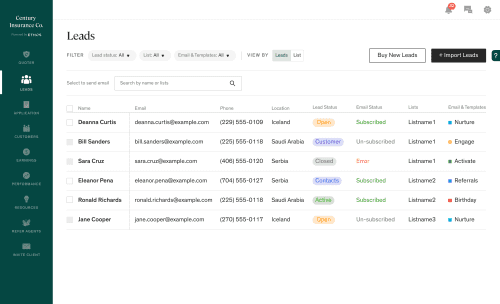
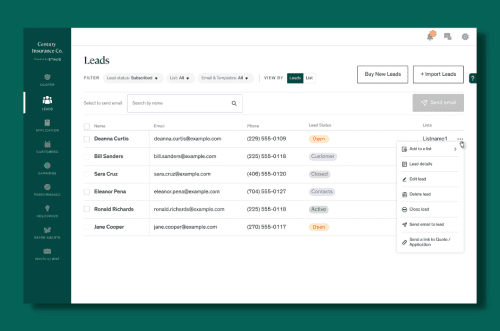
To view a lead, click on the client’s name. Under each lead, you’ll be able to see the client’s profile information, lead status, email status, lists, and email type. With each lead, you’ll also have the ability to send an email, and delete or close the lead.

To import contacts, click Import List. You’ll be given the option to import contacts from a CSV file.
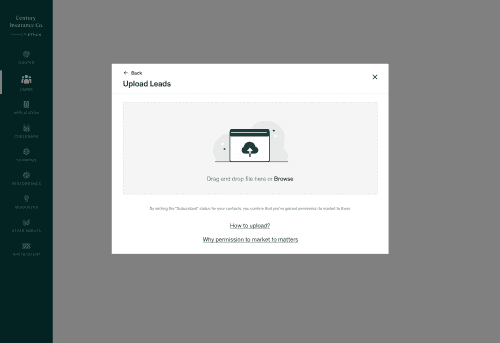
Once your list of contacts is uploaded, click Continue to preview. When previewing, name the list and click Finalize Import.
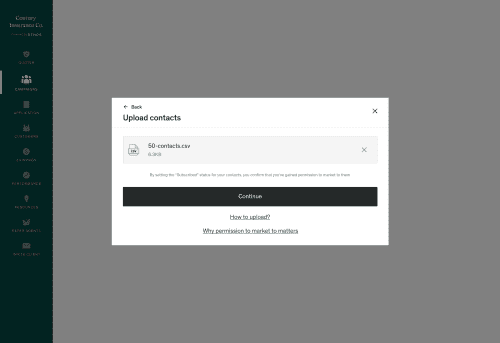
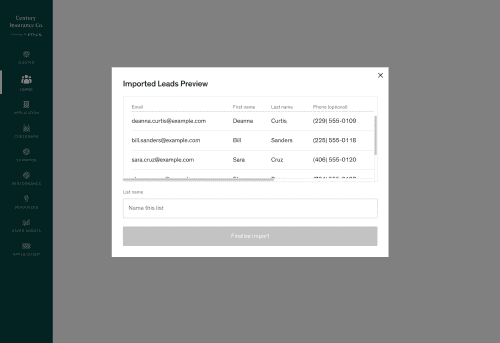
Congrats! You’ve imported your first list of contacts. Now it’s time to set up a campaign.
- Click the Leads tab. Then, select the target lead(s) or list(s) for your email campaign and click Send Email.
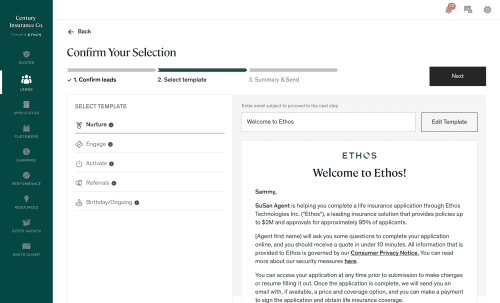
- Next, select the type of campaign template you want to send. Based on your business needs, there are several templates for you to choose from:
- Nurture
- Engage
- Activate
- Referrals
- Ongoing
- After selecting a template, click “Edit” to add a subject line, change the text, and view all the emails within that template. Note: You cannot view other templates while in edit mode.
- Once you’re done editing the email, click “Save And Close” and then “Select & Next.”
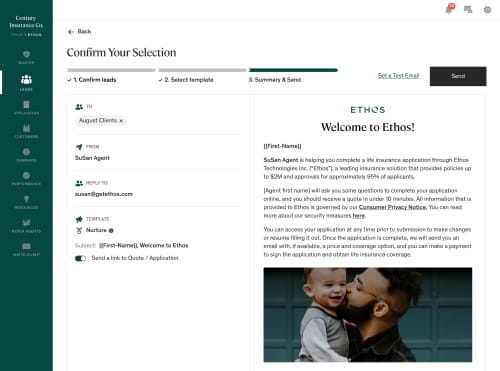
- Before sending your email:
- Review the subject line and email content
- Send a test email to yourself to make sure the email is appearing correctly
- Select if the email needs to send a link to the quote/application
- Once you’ve reviewed the summary, you’re ready to click Send!
- Ensure your email complies with the CAN-SPAM law! At a minimum, this means you need to include in your email your agency name, physical address, a means for the recipient to unsubscribe, and a statement that “This is an ad.”
